Fix that leaky chimney or flashing!
As having spent a few hours on my roof today to remedy an issue with our chimney I have to share that in a previous life, I worked as a roof inspector for quality assurance. We were a third-party entity that provided an RFP to roofing contractors, then enforced the SOW onsite. The end-user hired our company to represent them in all roofing matters, so for the purposes here, we were the end-user customer.
The way a roofing system works is there are several layers in this case for a ply system and aggregate roofing material on top. We provided what the system would be, the materials it was to be made of, and ensured that it was installed per our specs - which in some instances exceeded the manufacturer's specifications.
The underlayment goes down, then the roofing system on top of that, then the metal flashings, and if you're lucky - it includes the finishing roof cement, granules, and silver paint.
Repaired Chimney Flashing

Fixing Flashings
On top of the roofing system, when you set metal flashings at every roof system penetration, you need to ensure that the water barrier is still intact. Unfortunately, in a residential setting, most roofing contractors do not finish the flashings in the manner in which we do in a commercial setting. What normally happens in a commercial setting is that the contractor sets the new metal flashing down on top of the roof system using tar and/or mastic (roof cement), complete with granules embedded and silver paint.
So today, I was informed I needed to get up there and fix it... since we are expecting rain. So I go up, and it is readily apparent where we needed some help at the chimney. So here is how you do it:
Supplies:
- Brush
- Broom
- Rags
- Nitrile gloves (more than a pair - this stuff gets messy, mastic is toxic)
- 2" putty knife/spatula
- Mastic - if you are expecting rain the same day or so get the 'wet' version.
- Webbing of some sort: the mesh used for drywall repair or fiberglass, or similar
- Granules: absorb, kitty litter, or similar
- Silver Paint; reflective roof paint preferred
Supplies
Click thumbnail to view full-size


How to do it:
- Clean the debris from the area with a brush or whatever tools necessary.
- Using a 2" putty knife or similar, spread the mastic along the area to be repaired. about the width of the putty knife, making sure there is a proper seal; no holes above the membrane.
- Add the granules onto the mastic once completed, patting them into the mastic - not just sitting on top.
- Paint the whole line of mastic/granules silver.
- Do this at every area for repair, remembering that water flows downhill, including around all of the flashings*.
- Check the flashings welded areas and rims, sealing any area that has come apart. Notate that you need new flashings, replace at next roof repair opportunity.
This should get you through the worst of it! Let me know how it goes!
Photo Gallery
Click thumbnail to view full-size


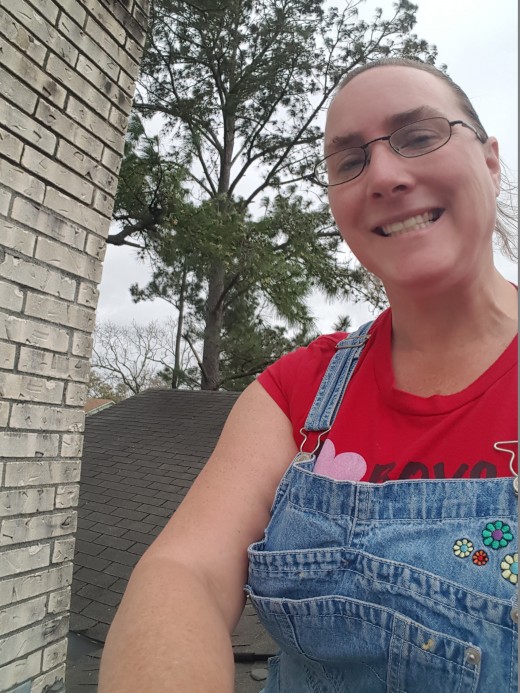
Me up on the roof.....